My First Louboutin Strassing Adventure
A pair of swarovski covered Christian Louboutin heels retail for over $3000. So, it's no surprise that a lot of people have covered their own Louboutins with crystals. This process is commonly called strassing. Come take a look at my first strassing adventure! 🙂
Here's the first part of my strassing project. First, I needed to determine which materials were needed. Online, it suggested a pair of craft tweezers (it turned out these were not needed), at least 4 different sizes of crystals, gem-tac (less strong, but non-toxic) or E-6000 (stronger, but toxic) glue, and fabric Louboutin heels (fabric was chosen as I used the weaker non-toxic glue: gem-tac). If you have leather shoes, particularly patent leather, E-6000 glue should be used. Just be sure to work outside due to its toxicity.
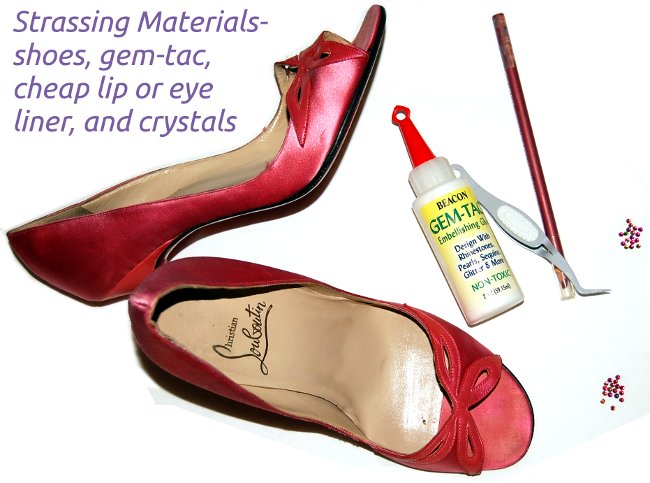
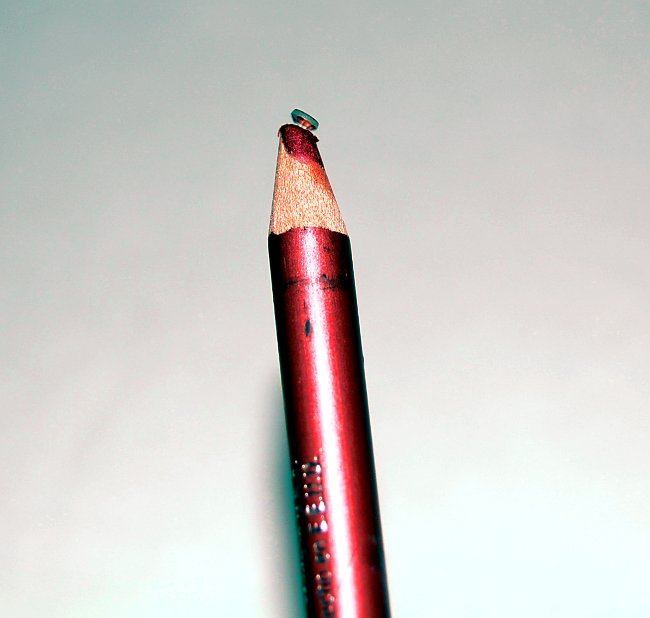
I found out that the tweezers did not work well, even though they are very well made. A cheap eyeliner or lip liner worked much better at picking up and placing crystals. So, you really don't need the tweezers at all!
One of the things that is super important is figuring out how many and what kind of crystals to use. There are several types of crystals to choose from. For covering Louboutin, don't use anything but swarovski or DMC crystals. The highest quality crystals are swarovski due to their sparkle, but they are expensive. The cost of swarovski crystals for a pair of shoes will be around $300. The cost of DMC crystals (slightly less sparkle) costs around $30.
I ordered the following DMC crystals for my project: 75 of the SS20 vitrail rainbow crystals, 144 of the SS16 vitrail rainbow crystals, 4320 of the SS10 vitrail rainbow crystals, and 4320 of the SS6 vitrail rainbow crystals. SS refers to the size. Vitrail means that the crystals change color depending on the angle of the crystal.
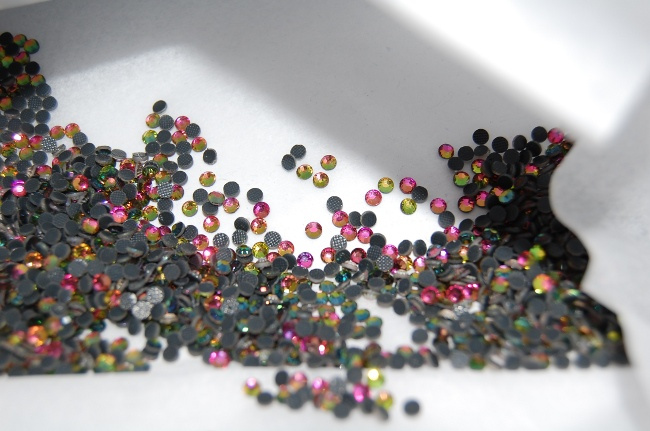
My SS10 DMC crystals:
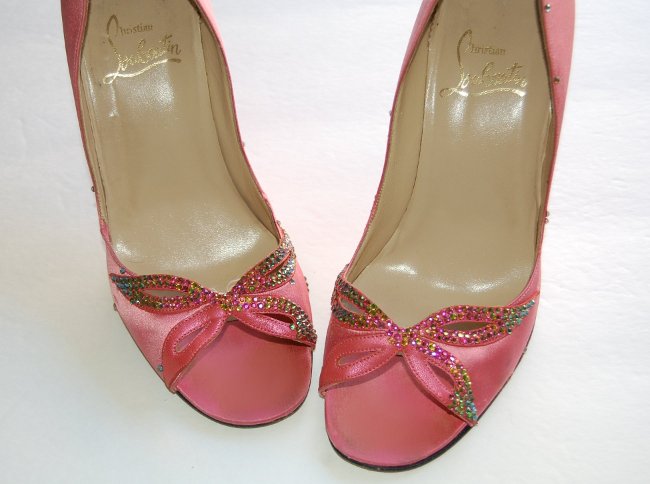
The easiest and fastest way of transferring crystals to the shoe, is to directly apply a few small dots of glue onto the shoe, and then placing the crystals on top. I started the project by applying SS10 crystals to the butterfly pattern on the front of the shoe. ***UPDATE*** Be liberal with the glue. I learned through experience that the glue dries completely clear, and these little dots of glue are not as good as more glue spread around to make a thin layer across the entire surface.
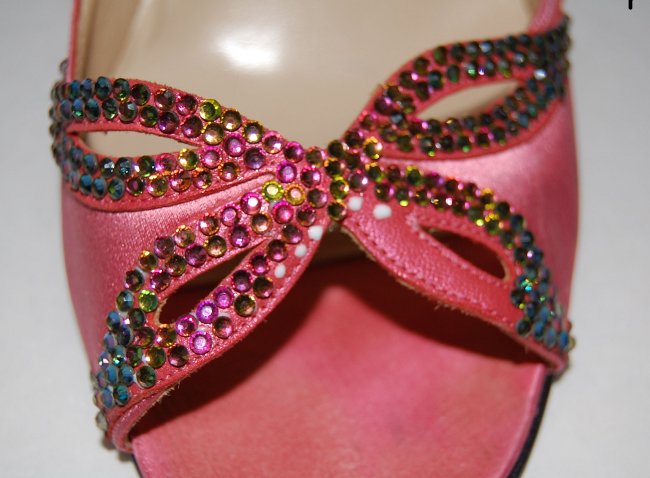
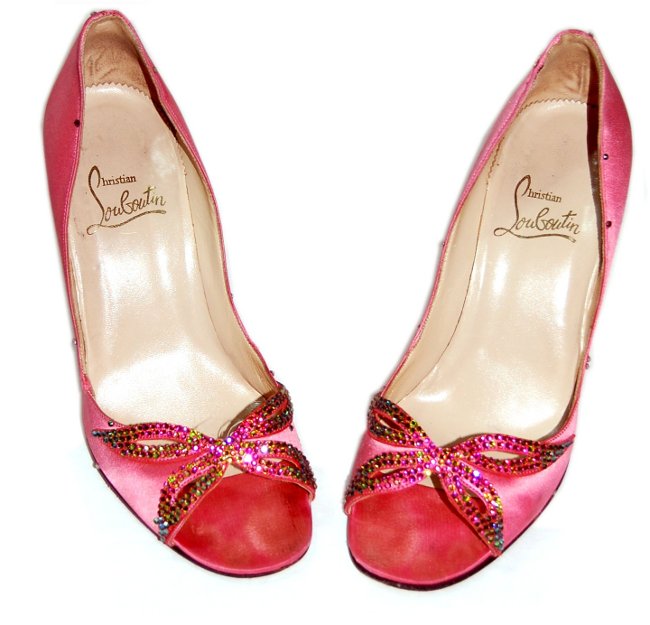
Though it may not look like much, placing the SS10 crystals to the bow area took a couple of hours. Later, I place additional smaller SS6 crystals on the butterfly pattern to complete just the butterfly area. Here it is with just SS10 crystals.
The crystals really look different depending on the lighting!
I hope you enjoyed this first look into my new adventure! As my project progresses, I'll update you all on how it goes! Hope that these shoes turn out pretty. I already know they will be super sparkly. 🙂